Tuesday Tips: How to Take a Thermie
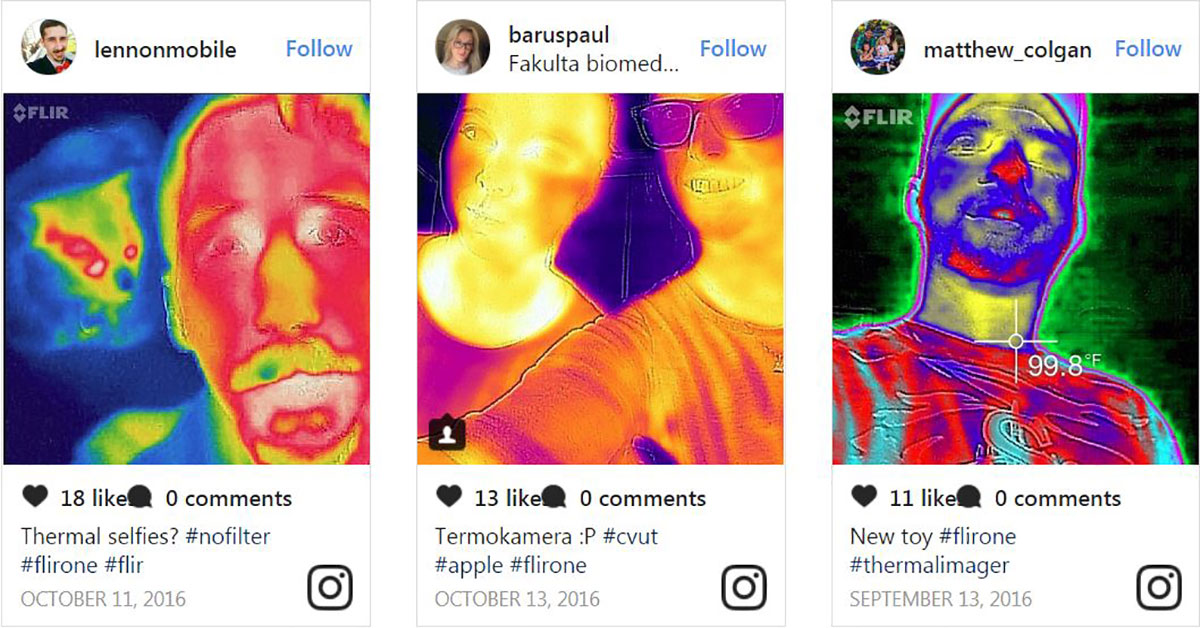
With the introduction of the FLIR ONE a few years back, users have found numerous ways to enjoy their smartphone’s new thermal capabilities. From seeing in total darkness to locating which rooms have the worst insulation, FLIR ONE users have discovered that taking photos of themselves in thermal can be a lot of fun. In particular, a thermal selfie, otherwise known as a ‘Thermie,’ is great way to stand out from the rest of photos that people post on social media.
Today we’re going to walk you through a few simple steps to take a the perfect Thermie with the FLIR ONE. And when you’re done, make sure to share your Thermie on Instagram or Twitter with the hashtag #MyFirstThermie.
1.
Attach your FLIR One to your iPhone or Android. You might not be aware, but the FLIR ONE has two cameras – one visible and one thermal. Make sure that both cameras, and the FLIR logo are facing you. Oh, and make sure you don’t put your fingers or palm over these lenses.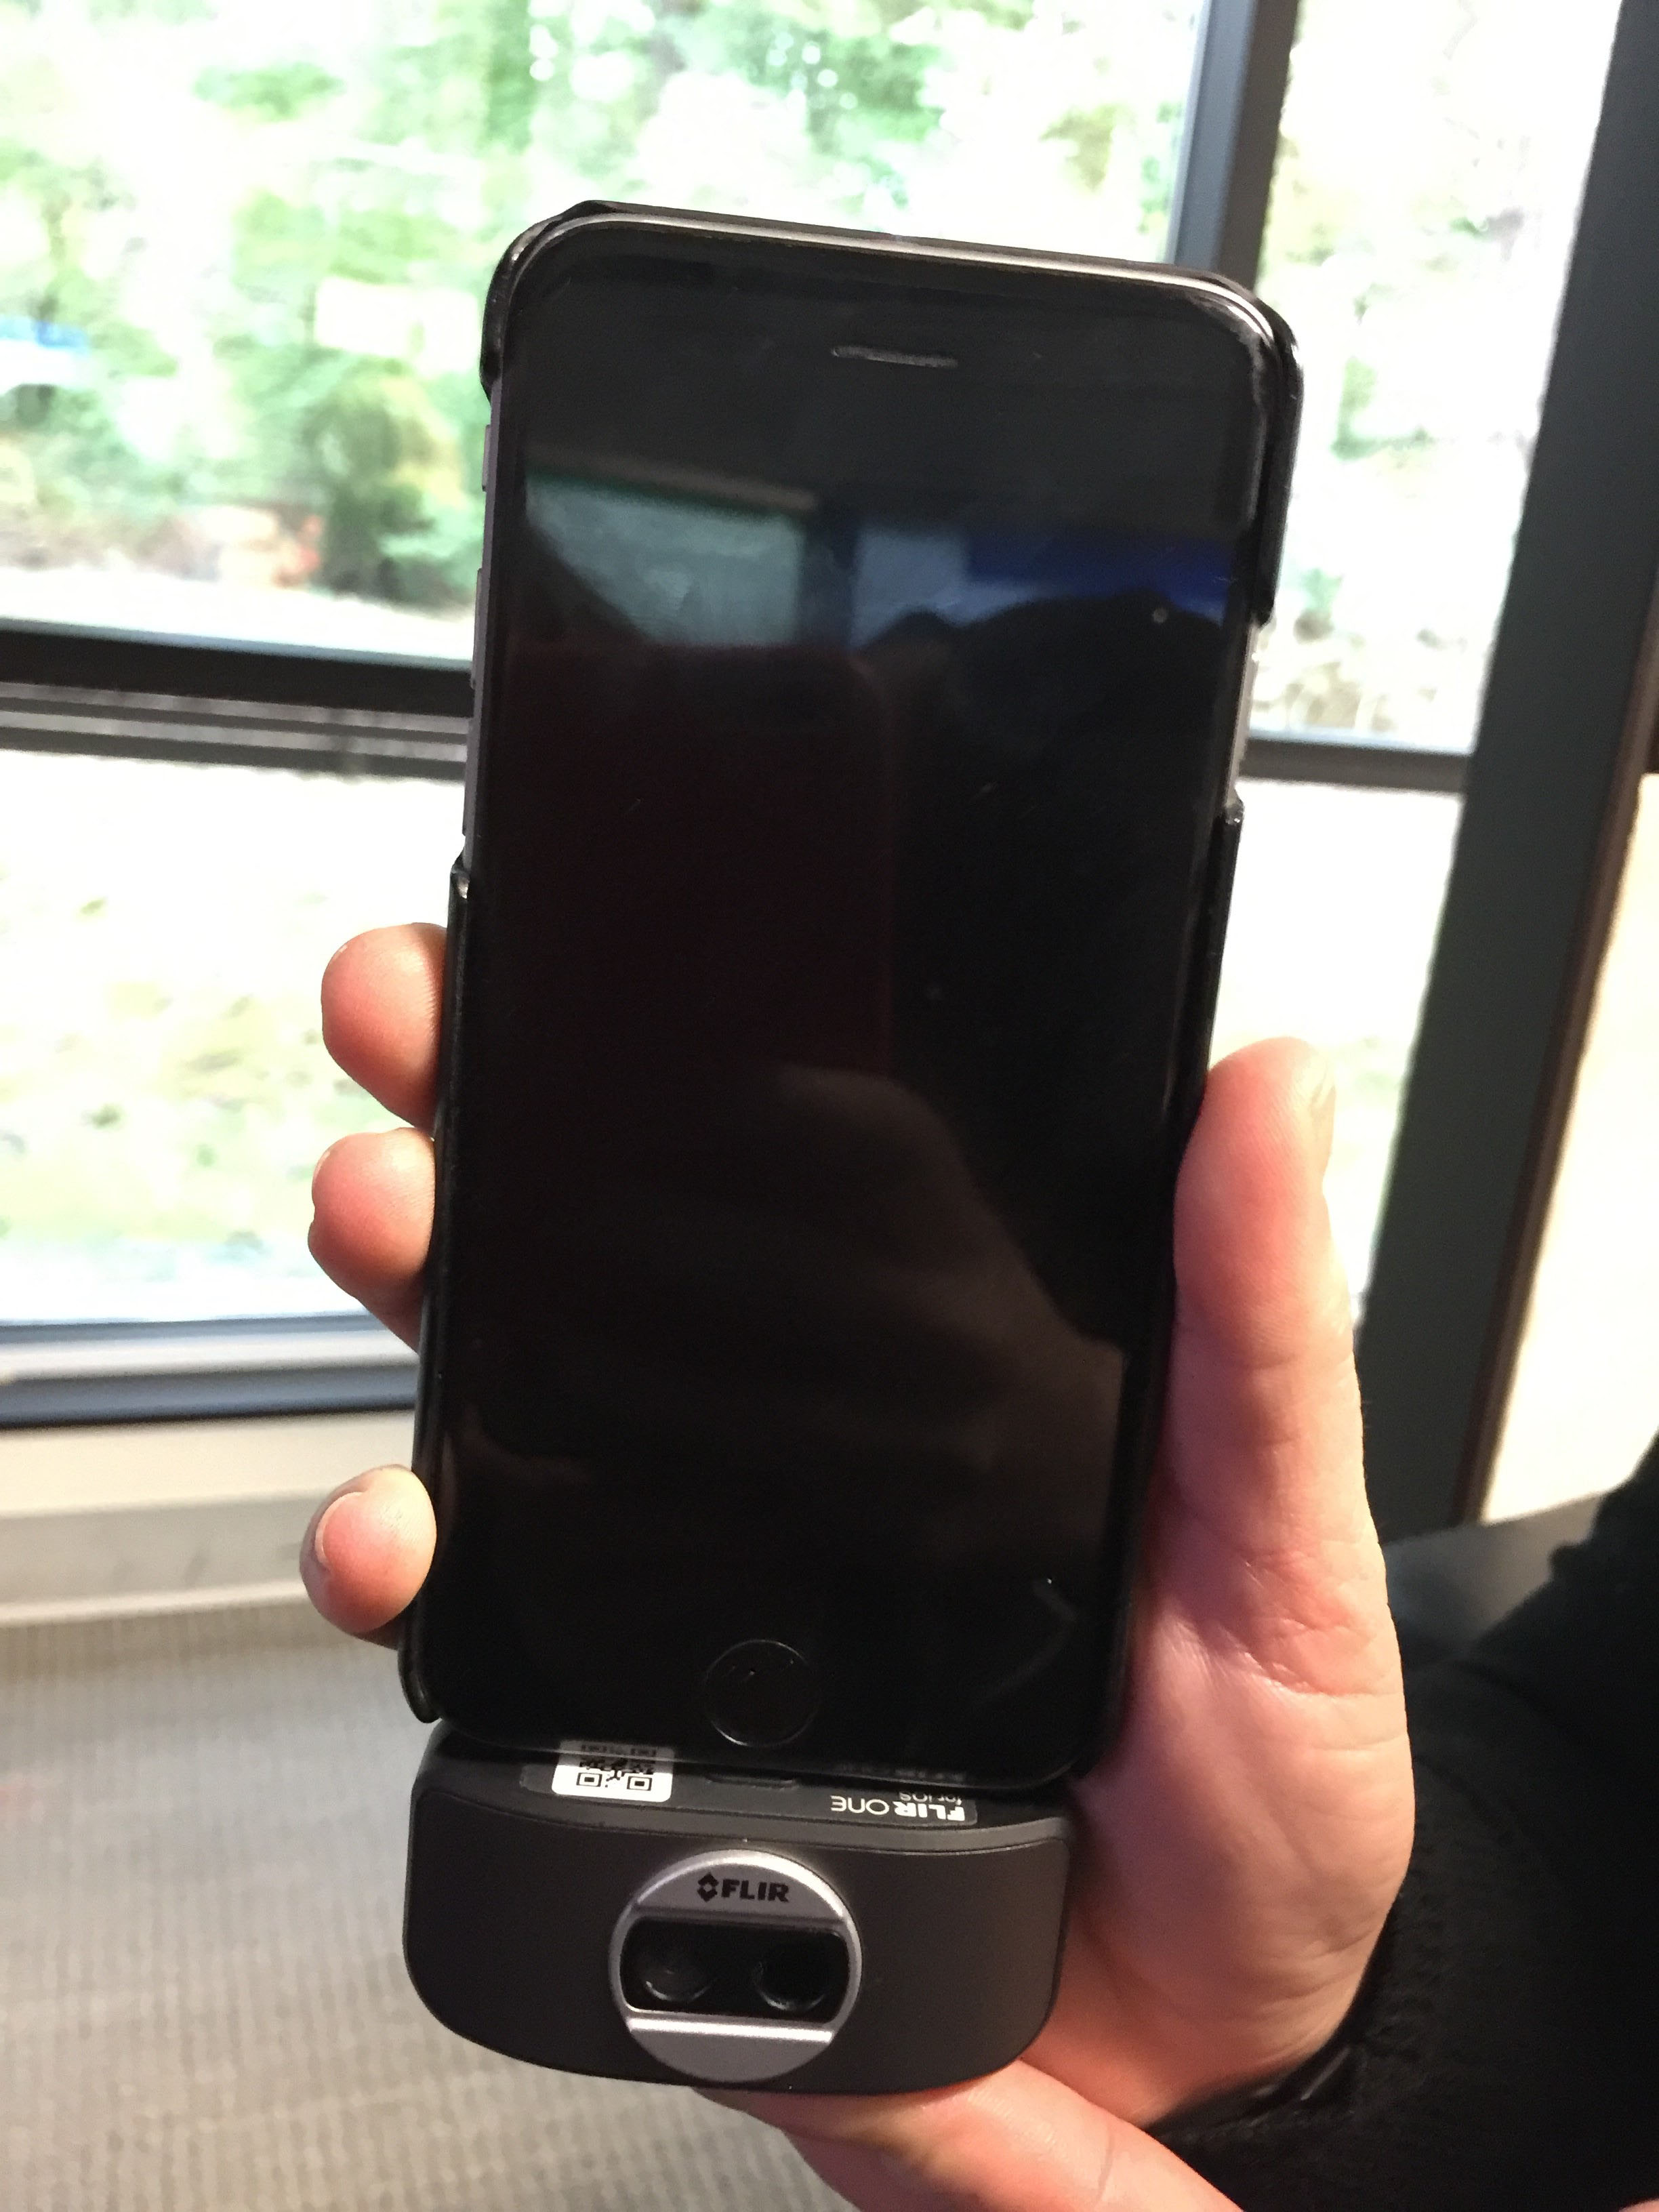
Power On the FLIR ONE and Open your FLIR ONE app.
3.
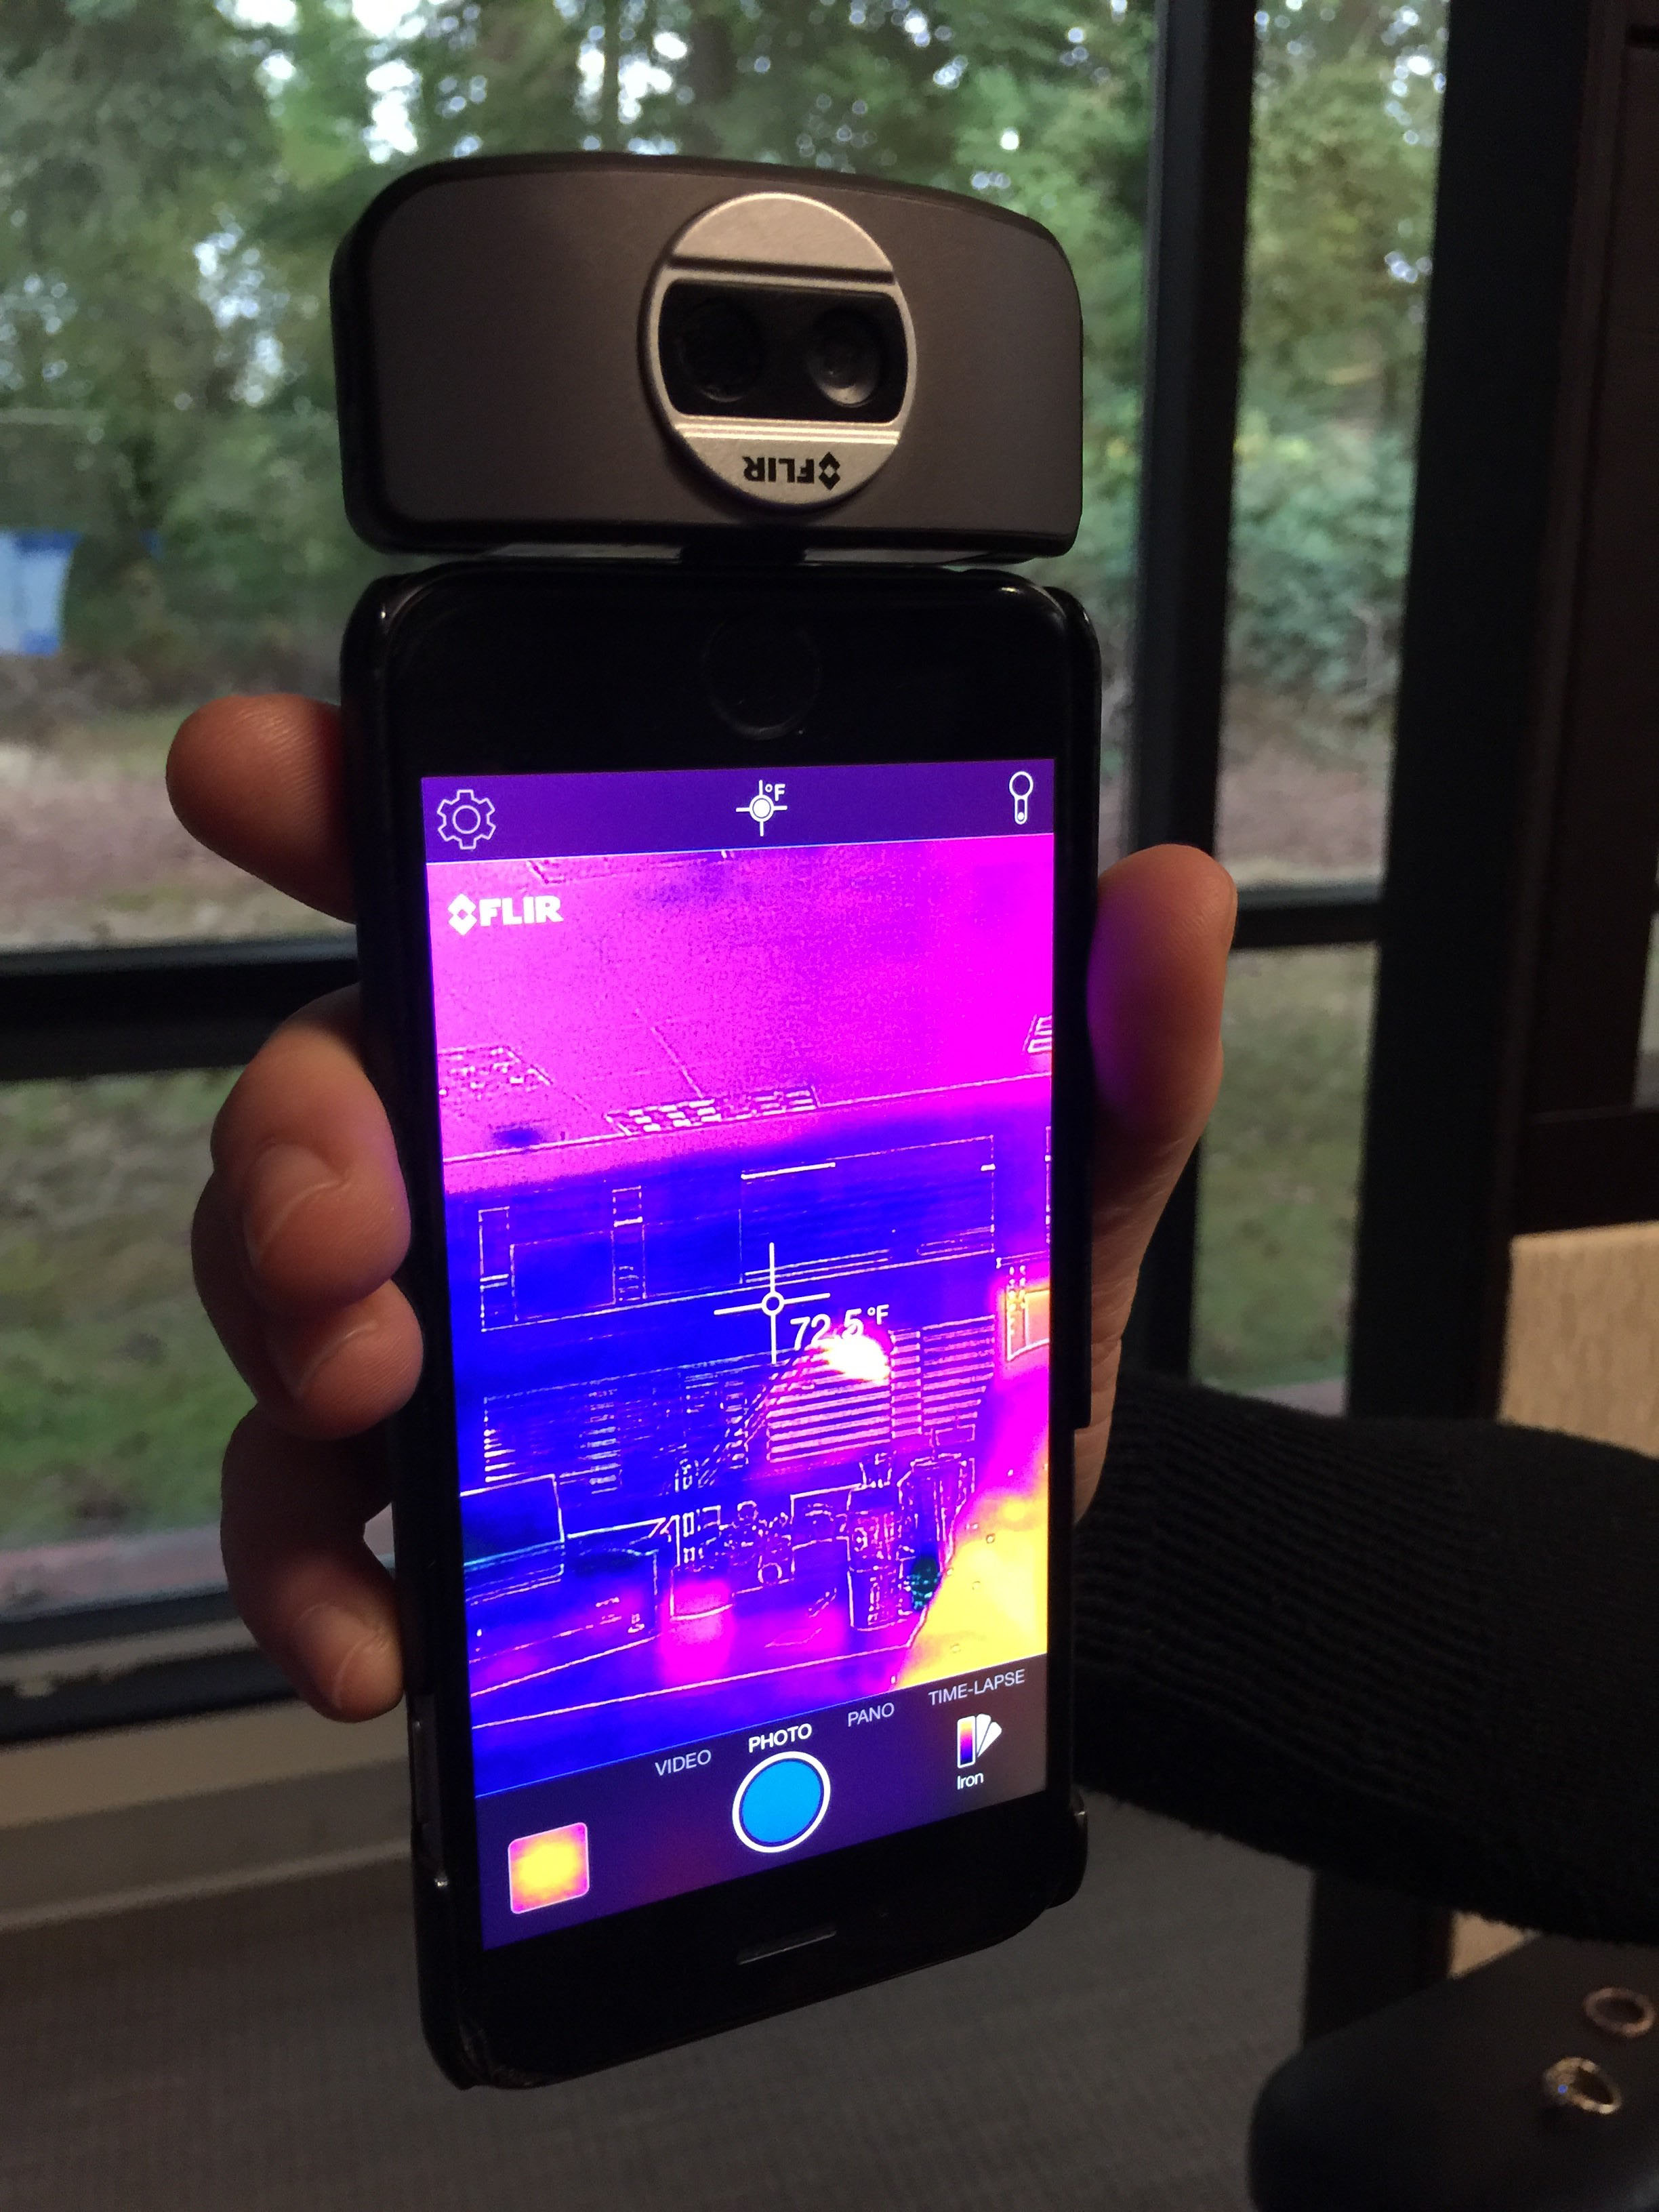
Once the App opens and you see a thermal image on the screen, rotate your phone so that the FLIR One attachment is on the top. Having the FLIR ONE at the top ensures the optimum Thermie angle.
4.
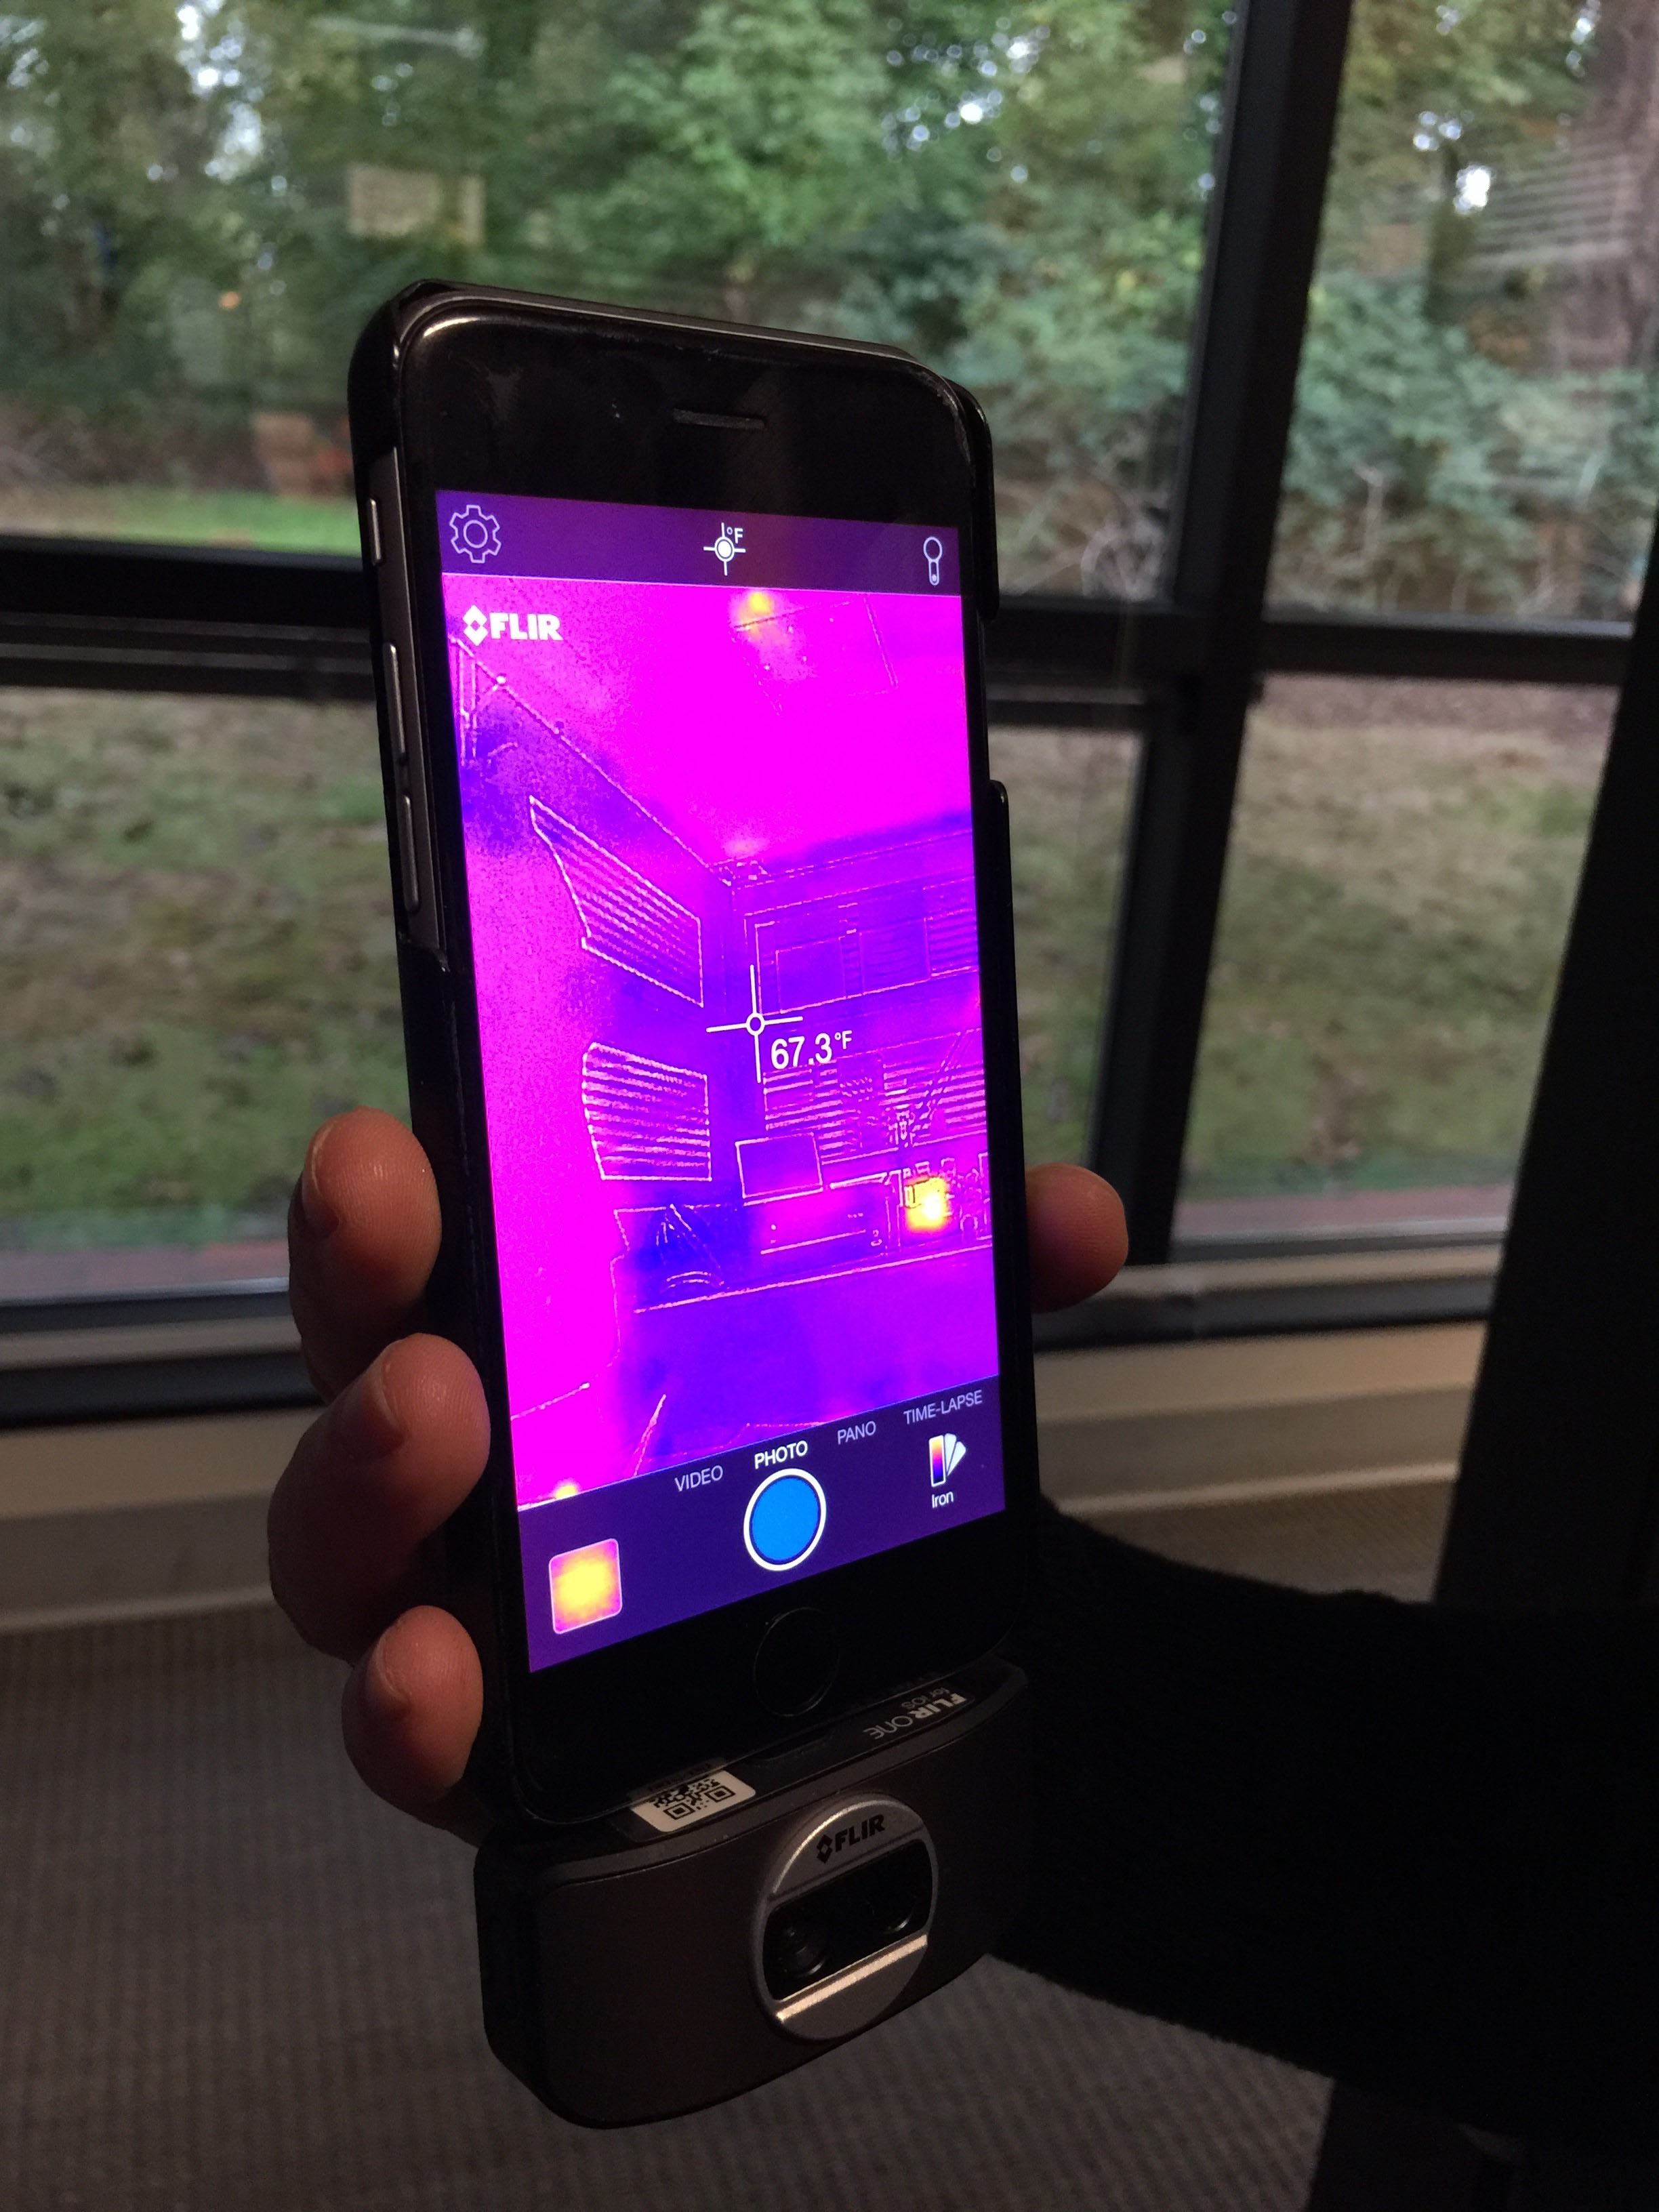
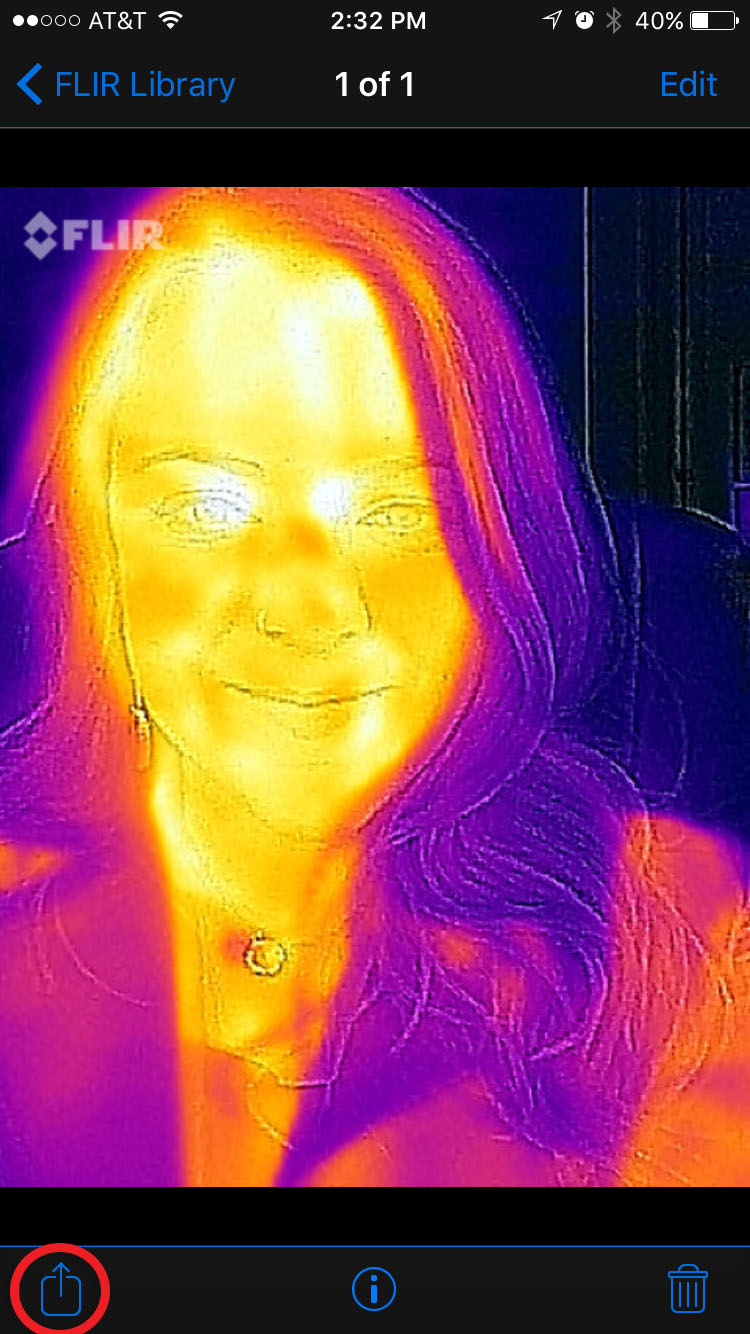
Find the various photo options at the bottom of the screen and choose ‘Photo’ or square, depending on your preference. Then pose, smile and push the Blue button to take a photo. You can review the images by opening the Library icon in the bottom left of the screen.
Once you’ve found the perfect Thermie, share it on your favorite social channels by hitting the Share button at the bottom of an image, then select the channel you want to share it to. When you post make sure to tag FLIR with #MyFirstThermie or #Thermie.
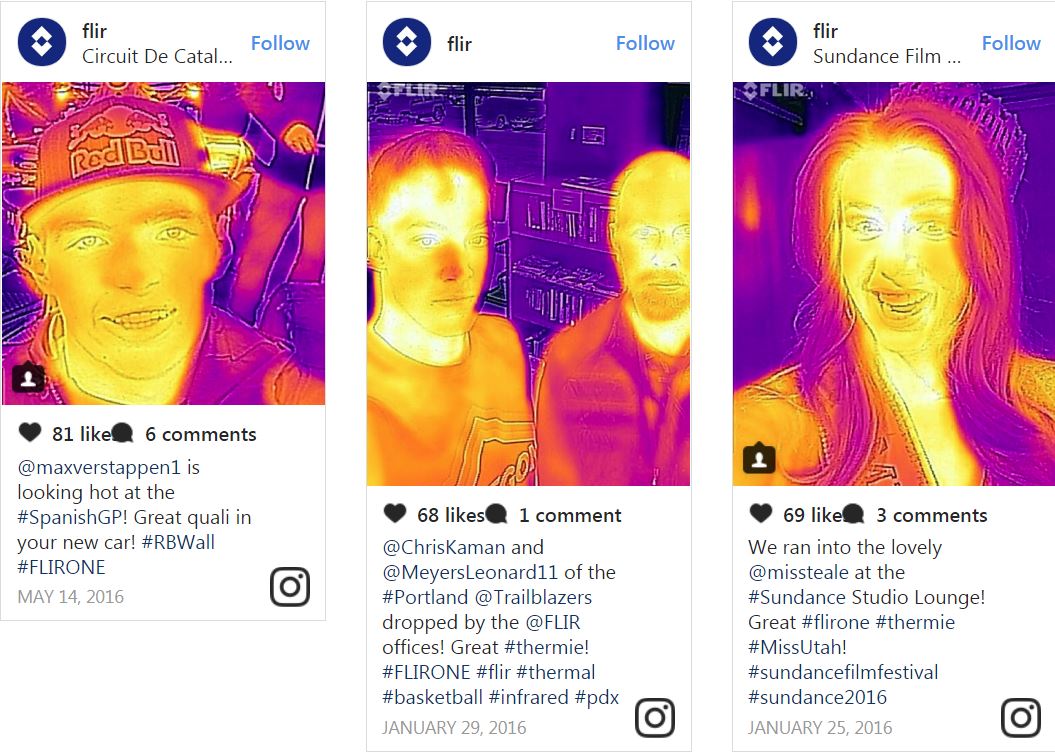
Check out some of our favorite thermie's from social media below including some of our favorites from F1 Driver Max Verstappen, Portland Trail Blazers Chris Kaman & Meyers Leonard, and Miss Utah!

Related Articles
-
 Article
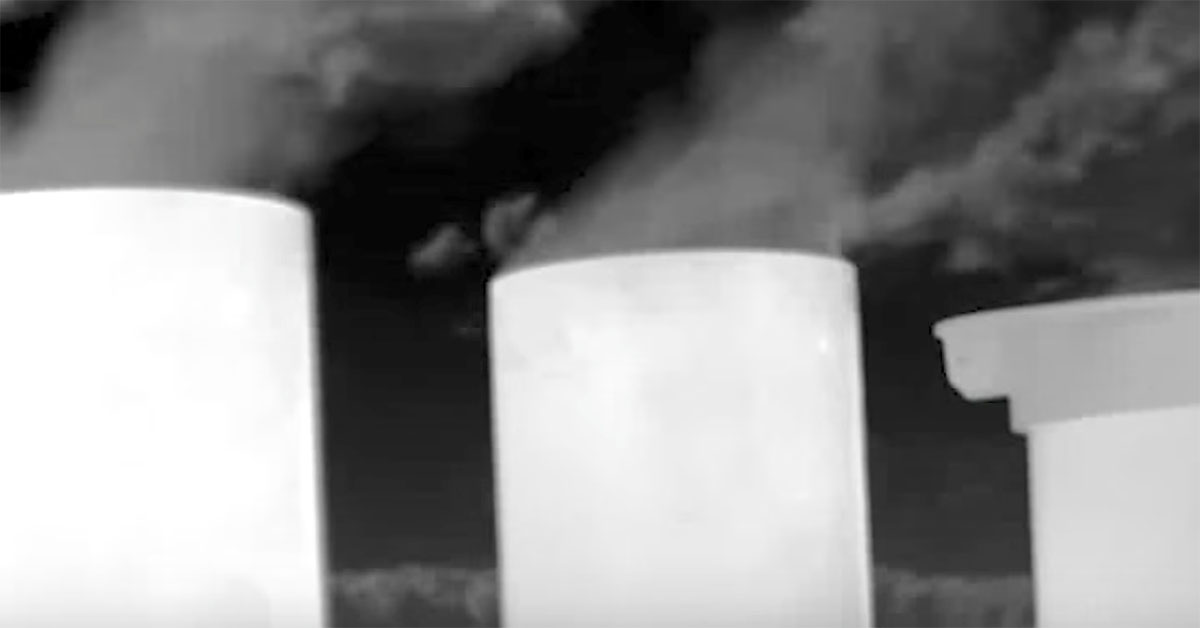
How FLIR Optical Gas Imaging Cameras Work
Read the Story -
 Article
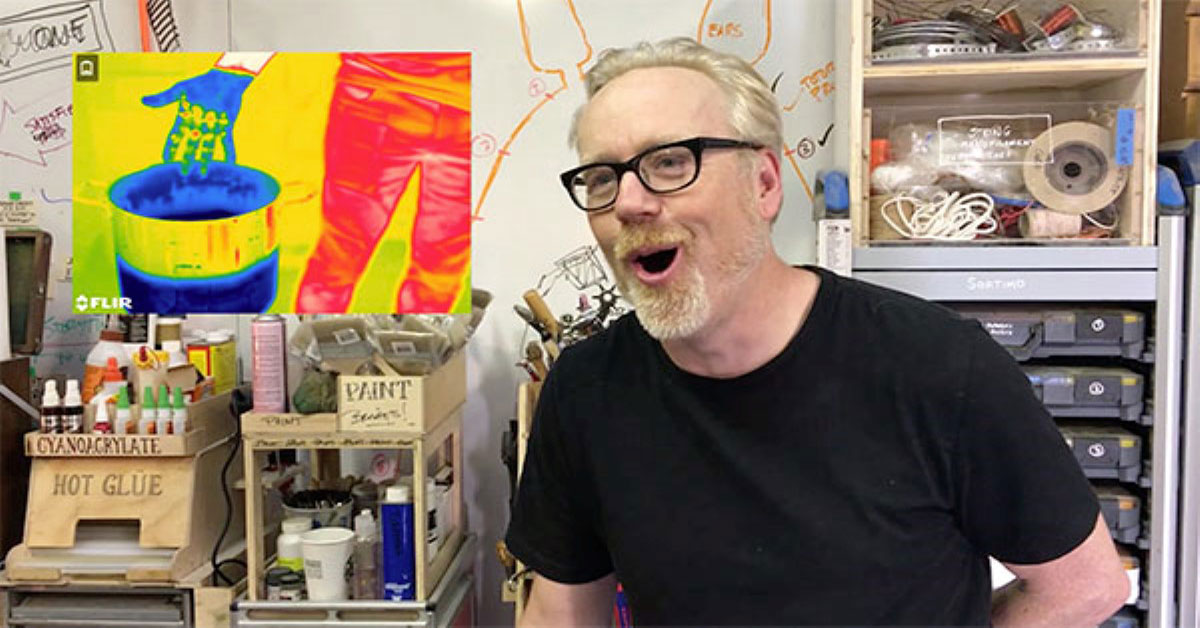
Adam Savage Having Fun with FLIR Thermal!
Read the Story -
 Article
African Parks Team Trialed FLIR Thermal-Equipped Drones to Monitor Elephants
Read the Story